“Dale,” I hear you asking,[1] “I understand that you’ve hemmed six football fields worth of muslin strips…
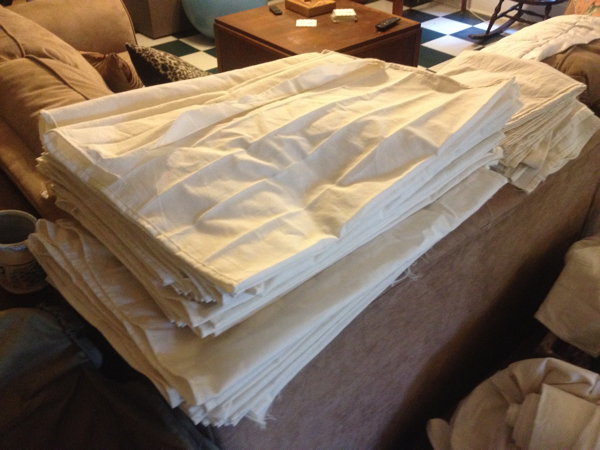
“…but how on earth do you do the pleats and create the pockets that the tent stakes slip into?”
I’m glad you asked.

First of all, cardboard templates are your friend. I make mine out of Ram Board, a miracle substance carried by Home Depot. Every home should have at least one roll.
Here’s what happens. For every tent stake in the labyrinth I make a pocket, reinforced on each side with a pleat. When I finish a pocket, I use my handy chart to measure from its center to the center of the next one. Then I position the template:

Here you can see the center mark:

On either side of the 4-inch pocket, there is a 2-inch pleat.

On the left hand side, things are a little different. Usually I just mark the 2-inch pleat, but sometimes I have to insert a salvaged piece from an earlier mistake, or I run out of fabric. Since a bolt of muslin is 25 yards, i.e., 75 feet, and these long walls are 108 feet, this adaptation is inevitable. We’ll deal with that process in a moment.

Mark the pleats on the bottom and the top, draw lines on either side of the template, then connect the other lines using the template as a straightedge.

As it says on the template, pleat the outside line to the inside line.

Topstitch the pleat on both sides. I’ve found that it’s easiest/best to topstitch the edge on top, then flip and do the backside.

Here are both pleats topstitched.

To create the pockets, fold the fabric in half and pin both pleats. Use the other cardboard template to mark two inches down from the top of the pocket.

Topstitch again, this time backstitching both ends of the seam. This is to keep the stitches from unraveling, of course. The two inches at the top are for an eventual channel for LD lighting. That’s right, the 3 Old Men labyrinth will glow in the dark. It will be beautiful beyond measure. (I will actually go back and stitch that 2-inch channel across the entire wall, but that may not happen before Alchemy.)

So what about those times when you run out of fabric and have to tack on the next strip? Or where you have planned to insert sections of fabric salvaged from an earlier screw-up of epic proportions? Here we see my chart of measurements which shows how long each segment of the wall needs to be, plus the ID of each tent stake. That’s to help me keep track of where I am in the 108 feet. See the green capital letters?

Those are the salvaged sections, which I measured and labeled:

So when I measure the section before the insert, I mark the left-hand side of the pocket like so:

There’s a 1-inch piece—the bottom of the pleat—then a half-inch section for the seam. That’s where I cut.

I take the salvaged section and pin it to the wall, wrong sides together:

Stitch it, iron it flat, put the template back into position, and mark the left hand side of the template, i.e., complete the left hand pleat.

The seam allowances are thus concealed within the pleat, and the wall looks as if it’s made from one continuous strip of muslin.

And there you have it. A long and boring post, you say? Try doing this process 144 times. Thank you.
—————
[1] Unless those are the voices in my head. Hard to tell.