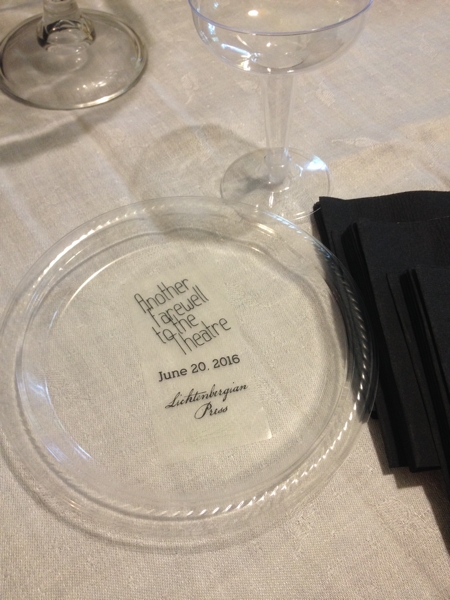
Now someday it may happen that a victim must found you will find yourself hosting a little soirée for a friend’s book launch, and you will think to yourself how nice it would be to have those little plastic plates with the event printed on them. But you don’t have them, because a) they’re expensive; b) you only need a couple dozen, not 500; and c) you waited too late to even try to get them.
So you make your own:
Here’s how.
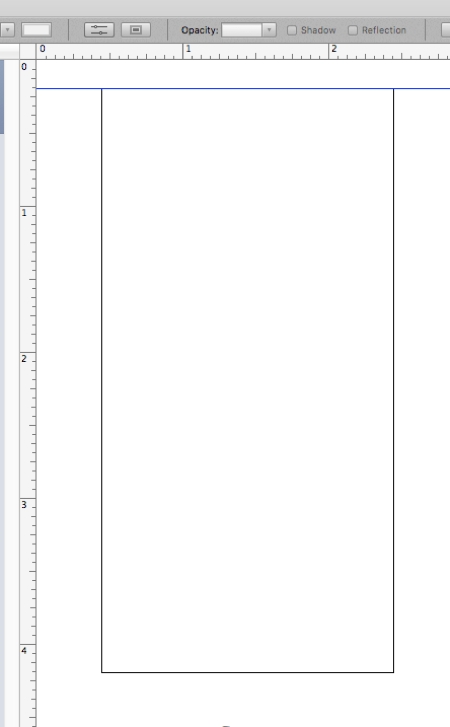
Open your favorite program to make posters/brochures/labels/bookmarks. I use Apple’s Pages because it has everything I need.
Create a rectangle the size of your label (clear mailing labels are what we’re looking at here.) I got 2″x4″ labels. To make it easier to select the rectangles later, make sure that the rectangle is filled with white. (If you leave it just blank, then you have to click exactly on the border to select the rectangle, and that’s going to be very tedious indeed.)
Now fill it with your text blocks and images and whatever.
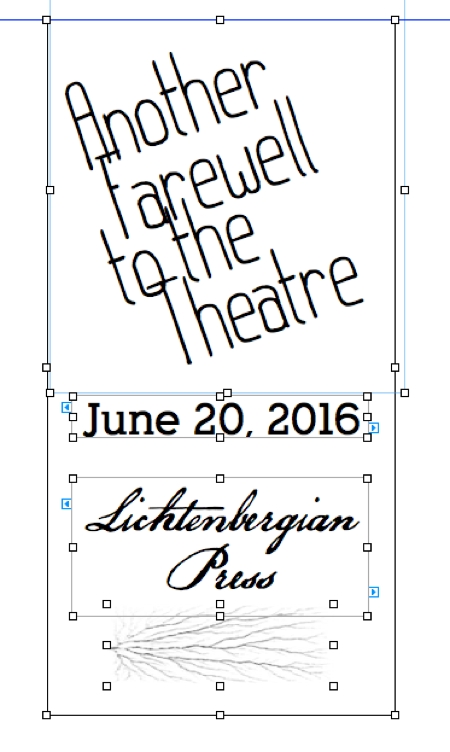
One reason I like Pages is that when you’re in “canvas” mode, little blue lines pop up to show you when objects are aligned/centered/etc.
Pro tip: once you get your one label made to your satisfaction, select everything and GROUP THEM so that nothing slides out of place.
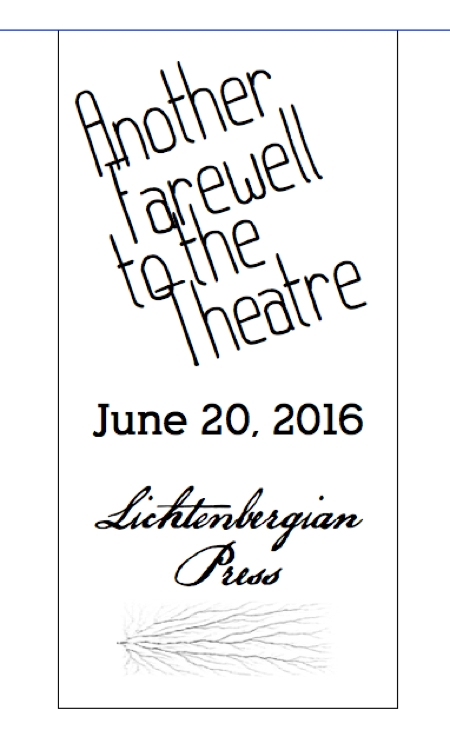
Here’s the critical step: flip that sucker horizontally:
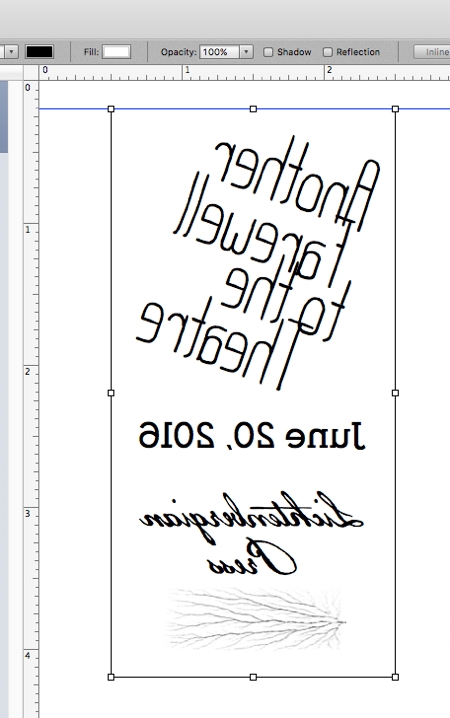
Think about it: you’re going to be peeling these off and putting them on the bottom of the clear plastic plate. You’re going to be seeing the label from the other side.
Now:
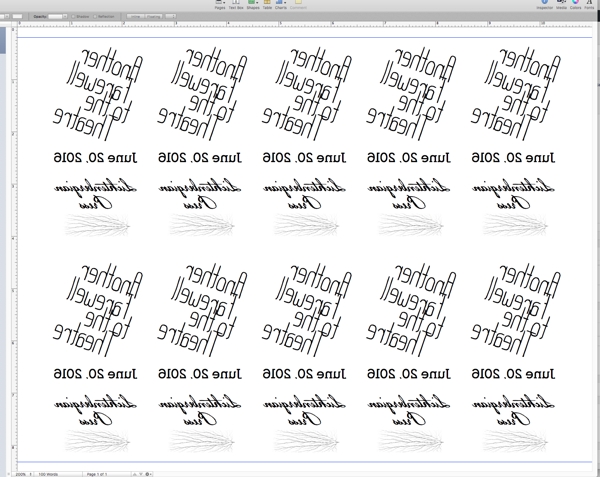
- Duplicate your label across.
- Align the labels.
- Group them.
- Duplicate that row and position the new row.
- Measure your label sheet and position everything to land on the labels. My labels were edge-to-edge, but if there are spaces between yours you will have to ungroup the row of labels to position each one.
- Print on a piece of paper, then hold it up to the light behind a label sheet to see if you got the positioning right.
- Adjust if necessary.
Once you get all the labels where they need to be, here’s the tedious part:
- UNGROUP everything down to the level where you can select each rectangle and turn off the border line. In Pages, it’s called the stroke of the object. Your mileage may vary. You’re doing this because you don’t need or want the lines, just the contents of the rectangle.
- I wouldn’t delete the rectangles themselves, because one day you’re going to want to do this again and will need those borders. If you’re clever, you can LOCK the position of each rectangle so that they won’t slide around by accident and all you have to do is duplicate the contents.
- Print the labels.
- Apply them to the bottom of your plates.
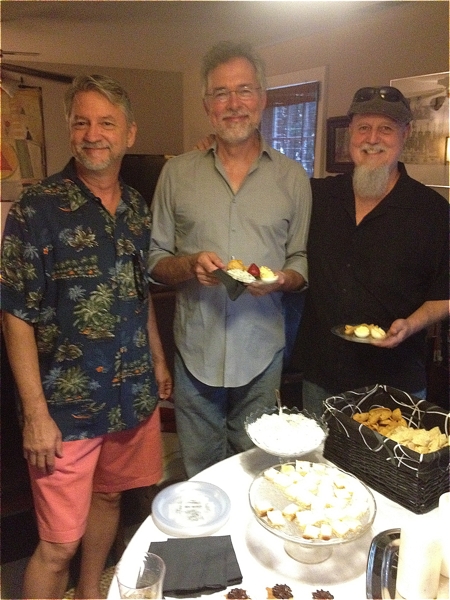
Have your soirée.
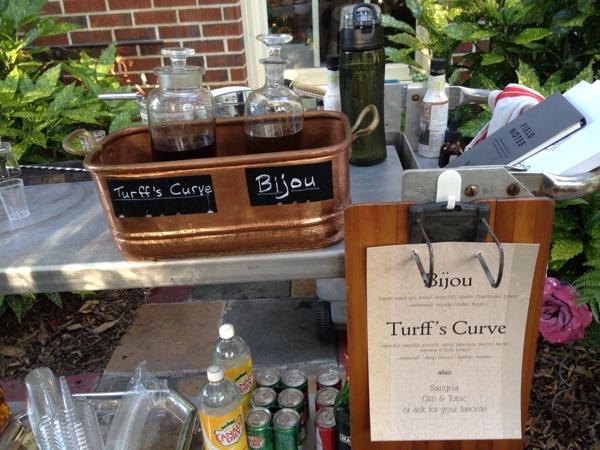
And don’t forget to make your bar as hipster as you can:
And bookmarks. Don’t forget the bookmarks:
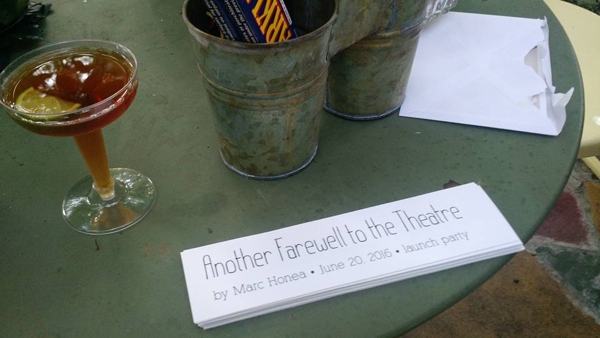
Swanky!
(The book, by the way, is Another Farewell to the Theatre, by Marc Honea, pictured above. It is published by The Lichtenbergian Press and was designed by me.)